Getting started with product design visualization is easy.
Currently most engineering is accomplished using 3D modeling software’s. It can be done in solids, surfaces, meshes, nurb curves etc. It can be done as freeform, sculpted, parametric design, AI driven even. The possibilities are endless.
Still, somehow, it’s a common misconception in the manufacturing community that product design visualization is a niche discipline and is out of reach. Many companies even think that their products don’t require any type of product rendition because they are not doing consumer products. The fact is, that technologies and 3D models are so common and easily available now a days, that it is assumed by consumers that products are available to view on demands. One would expect to go on a manufacturer’s web site and view catalog products. That goes for any type of products, even heavy-duty industrial machinery. Lacking in product showcases can leave a diminished and negative perception of quality and services by a typical buyer. If people buy with their eye’s, setup a digital photo studio and give them eye candy.
As the title of this blog implies, getting started with product design visualization is easy. In all Autodesk Collection of software’s is included 3DS Max. 3DS Max is an industry standard for 3d modeling, animation, special effects and obviously rendering. It’s comprehensible that at first glance such a software can be intimidating with the thousands of tools and features. Many users opened it just to close it immediately in fright after seeing the user interface. But when it’s come to basic visualization you will only need a hand full of those features. The workflow for a basic Photo studio style visualization is as easy as this:
- Import your model
- Adjust materials to taste
- Set up environment
- render
1. Import your model
3DS Max support lots of different file types. The list shown here cover lots of ground and enable easy and efficient importation from any provenance.

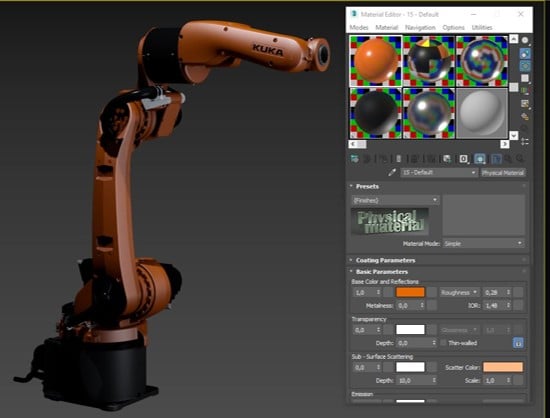
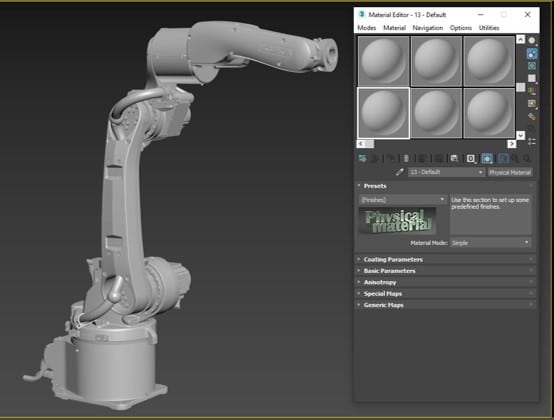
2. Adjust materials to taste
The simplified material editor (Compact mode) is simple to use. I strongly recommend using the physical material since these materials have built in templates for quick creation and those materials are compatible with most renderers.
3. Setup Environment
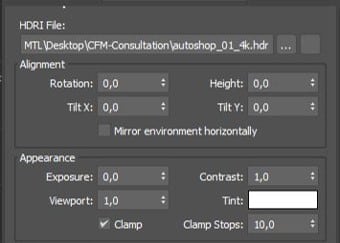
In the environment dialogue box, a high dynamic range image can be imported as the scenes background. Those HDRI images do not only
act as the scene environment but also act as the lighting scheme for the scene. This makes lighting a scene with the desired look a breeze. The high dynamic range image can also be used only as light. The actual environment don’t have to be shown to light the scene so another image can be used as a background. Having real lighting with a backdrop type background creates an excellent studio photoshoot space. 3DS Max come bundled with dozens of High dynamic range images but these images can be easily found by the thousands on the web.


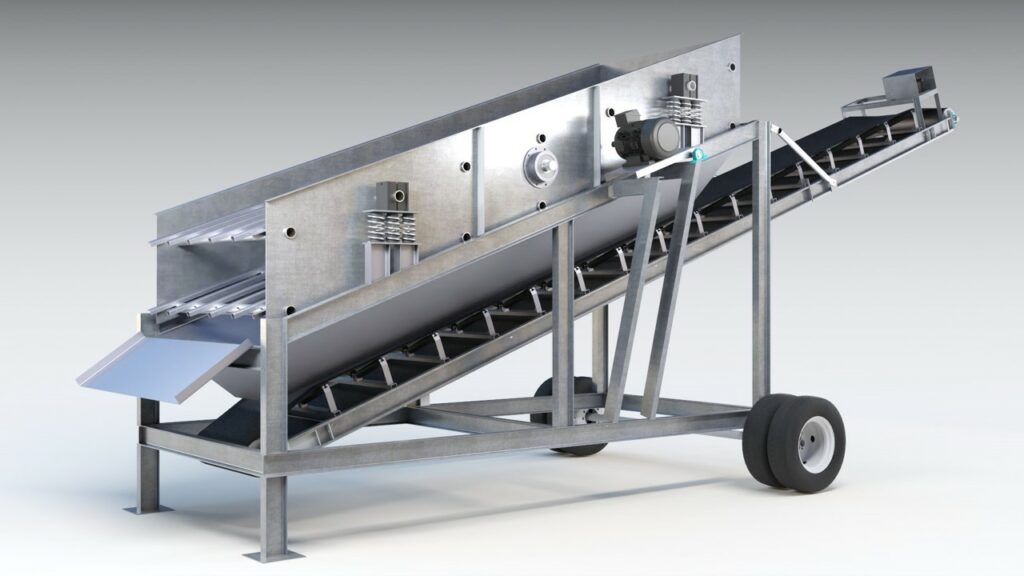
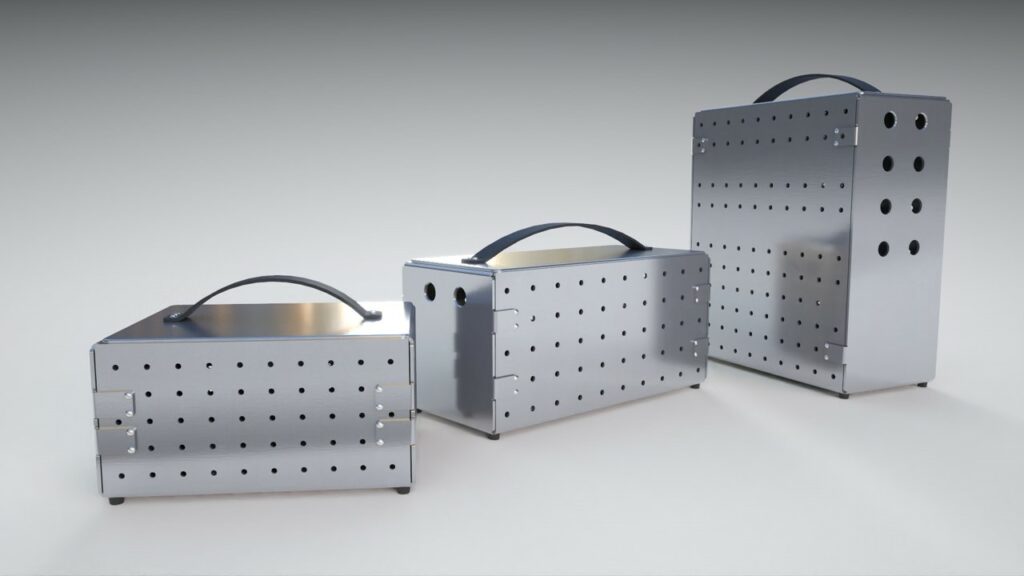
4. Render
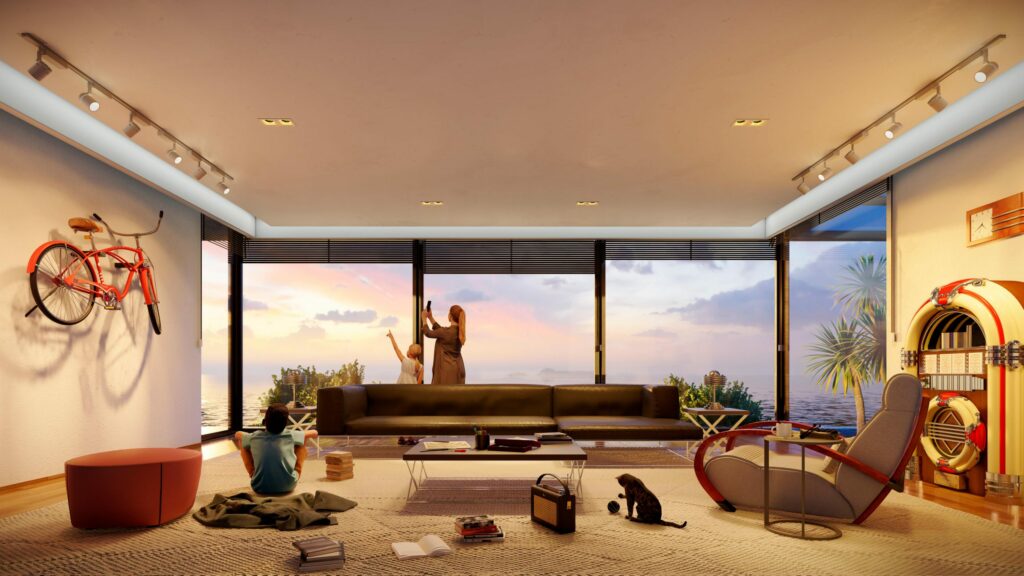
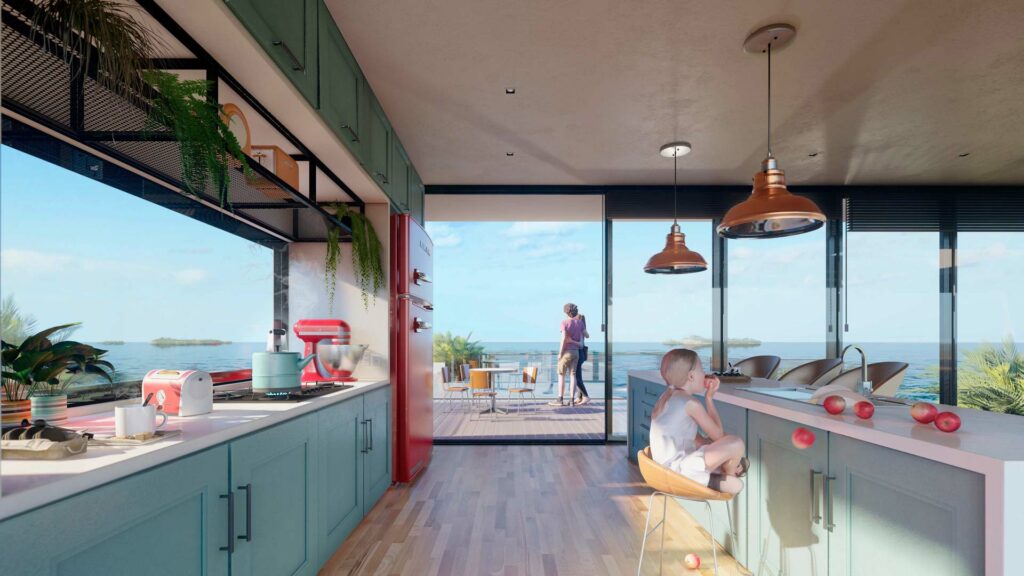
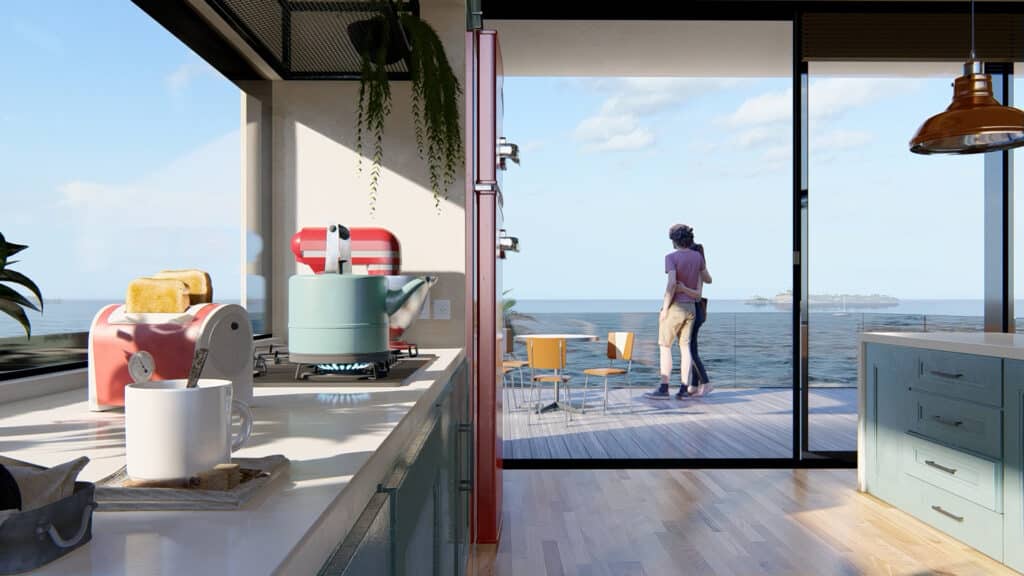
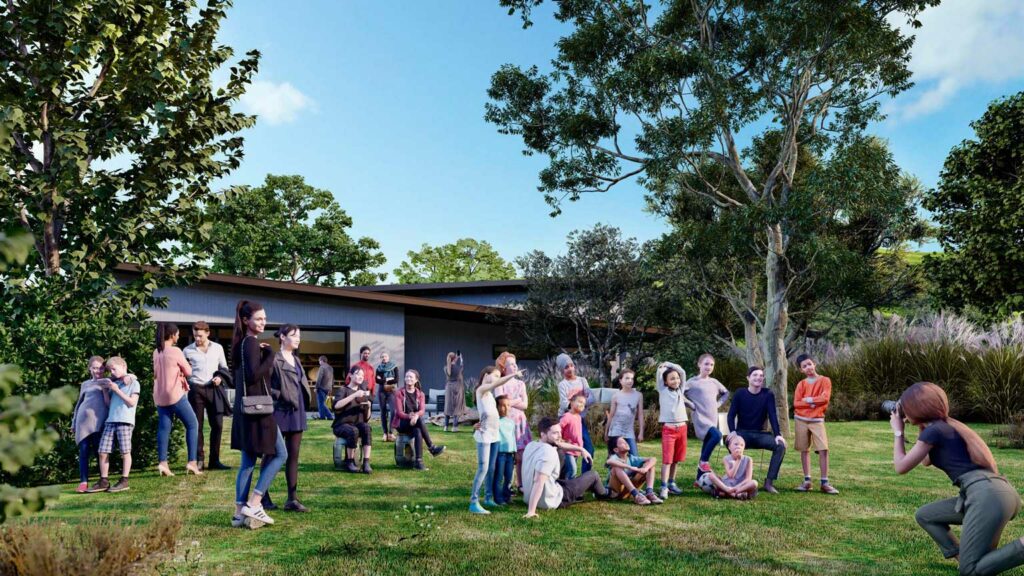
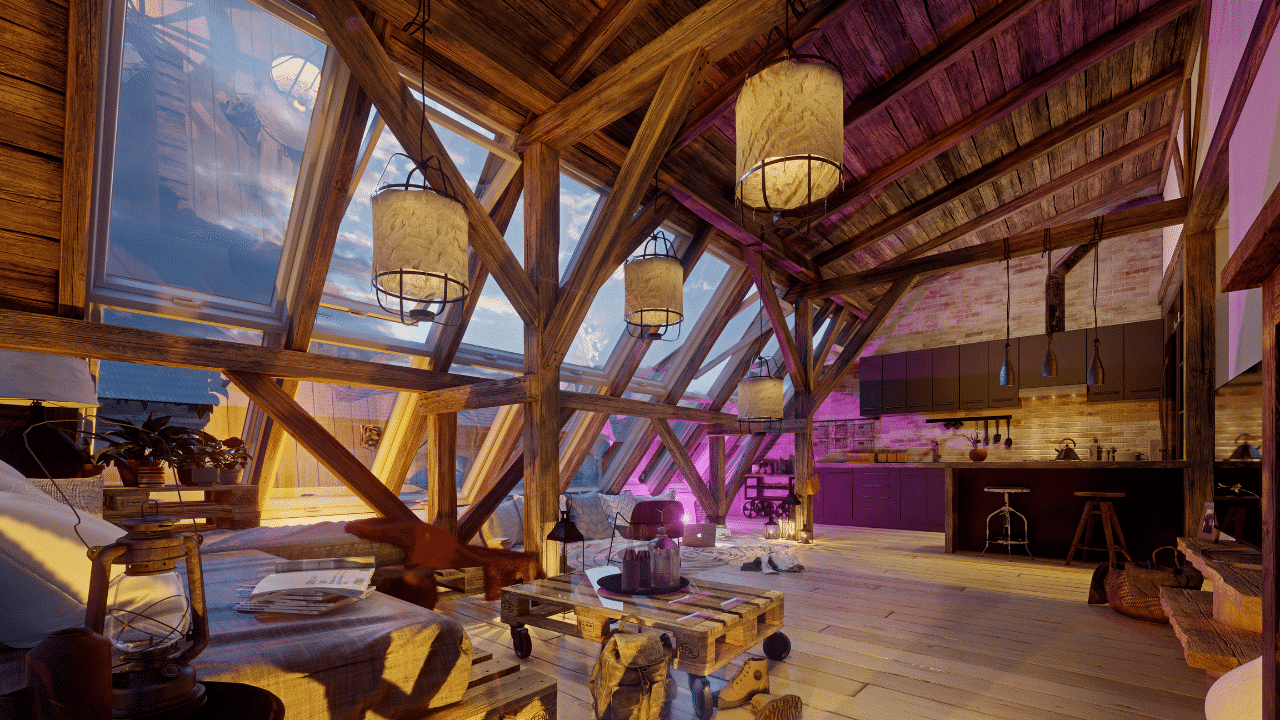
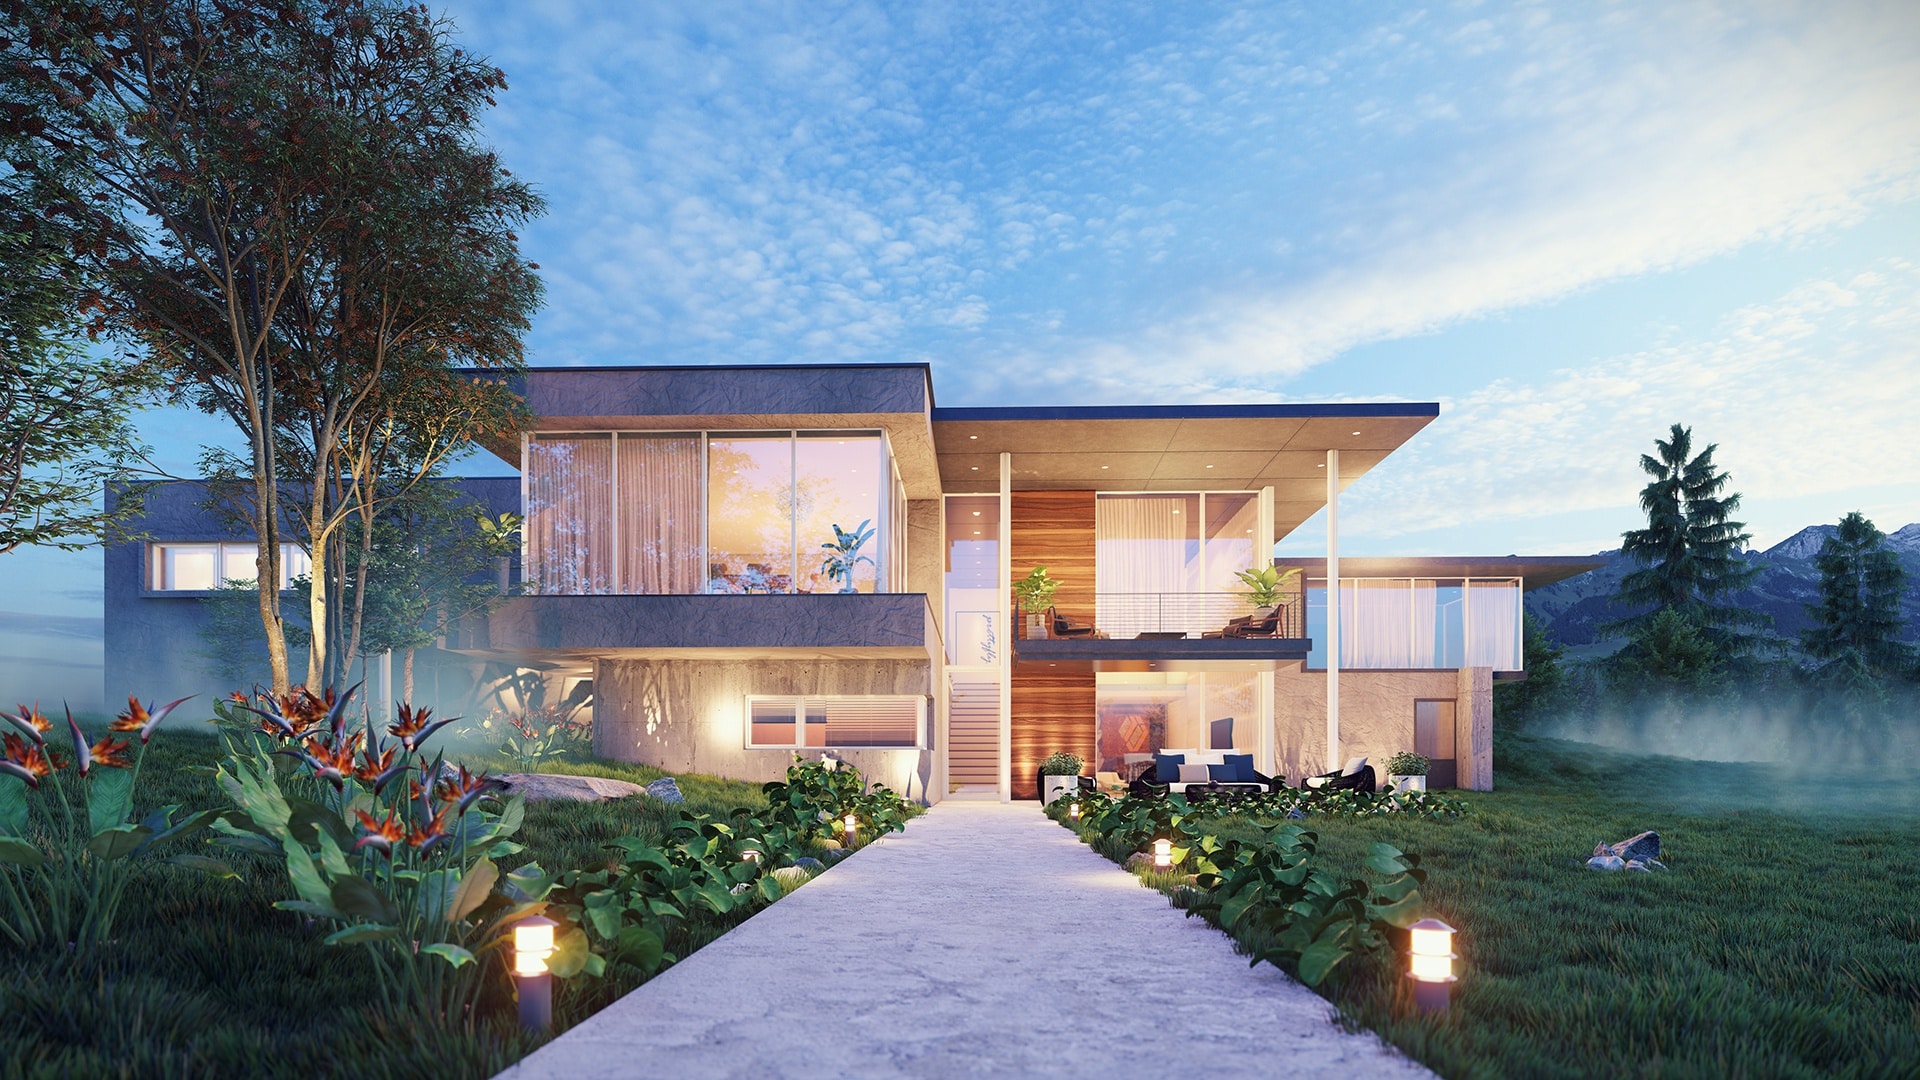
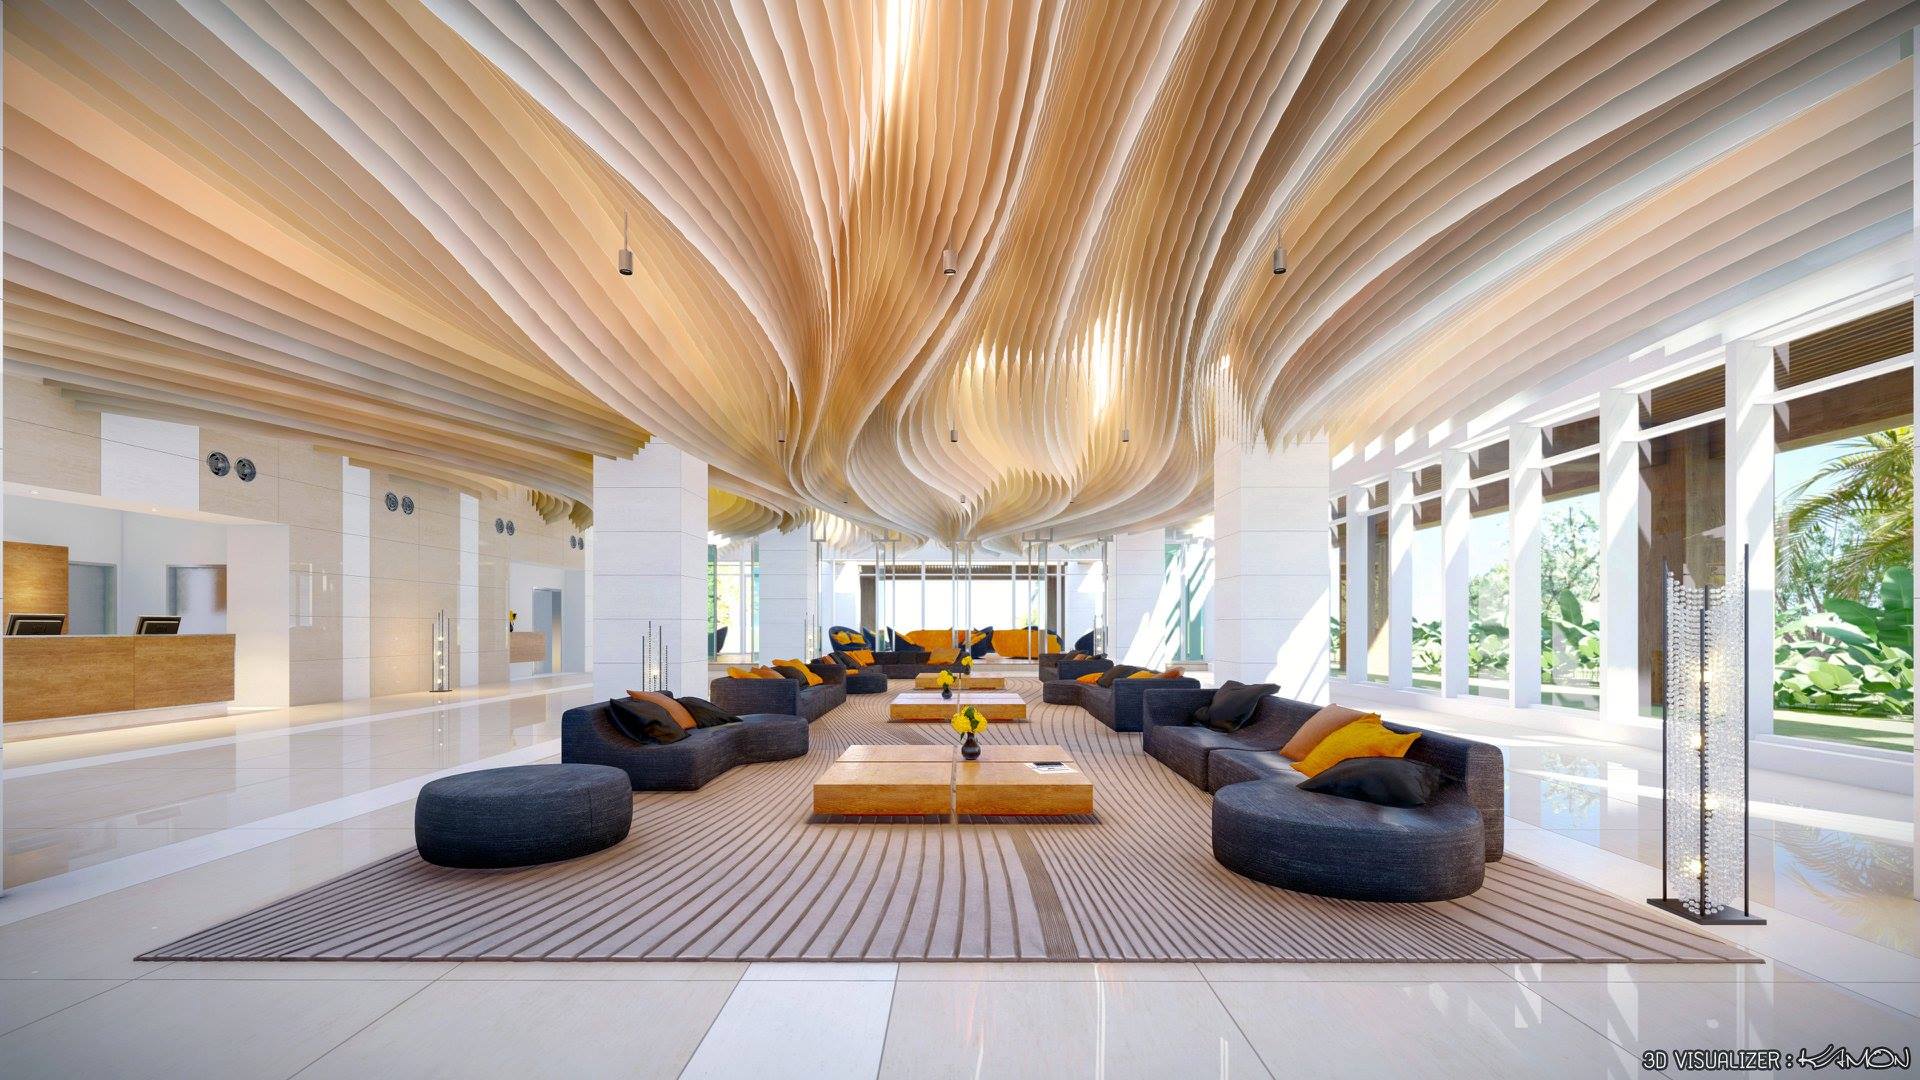
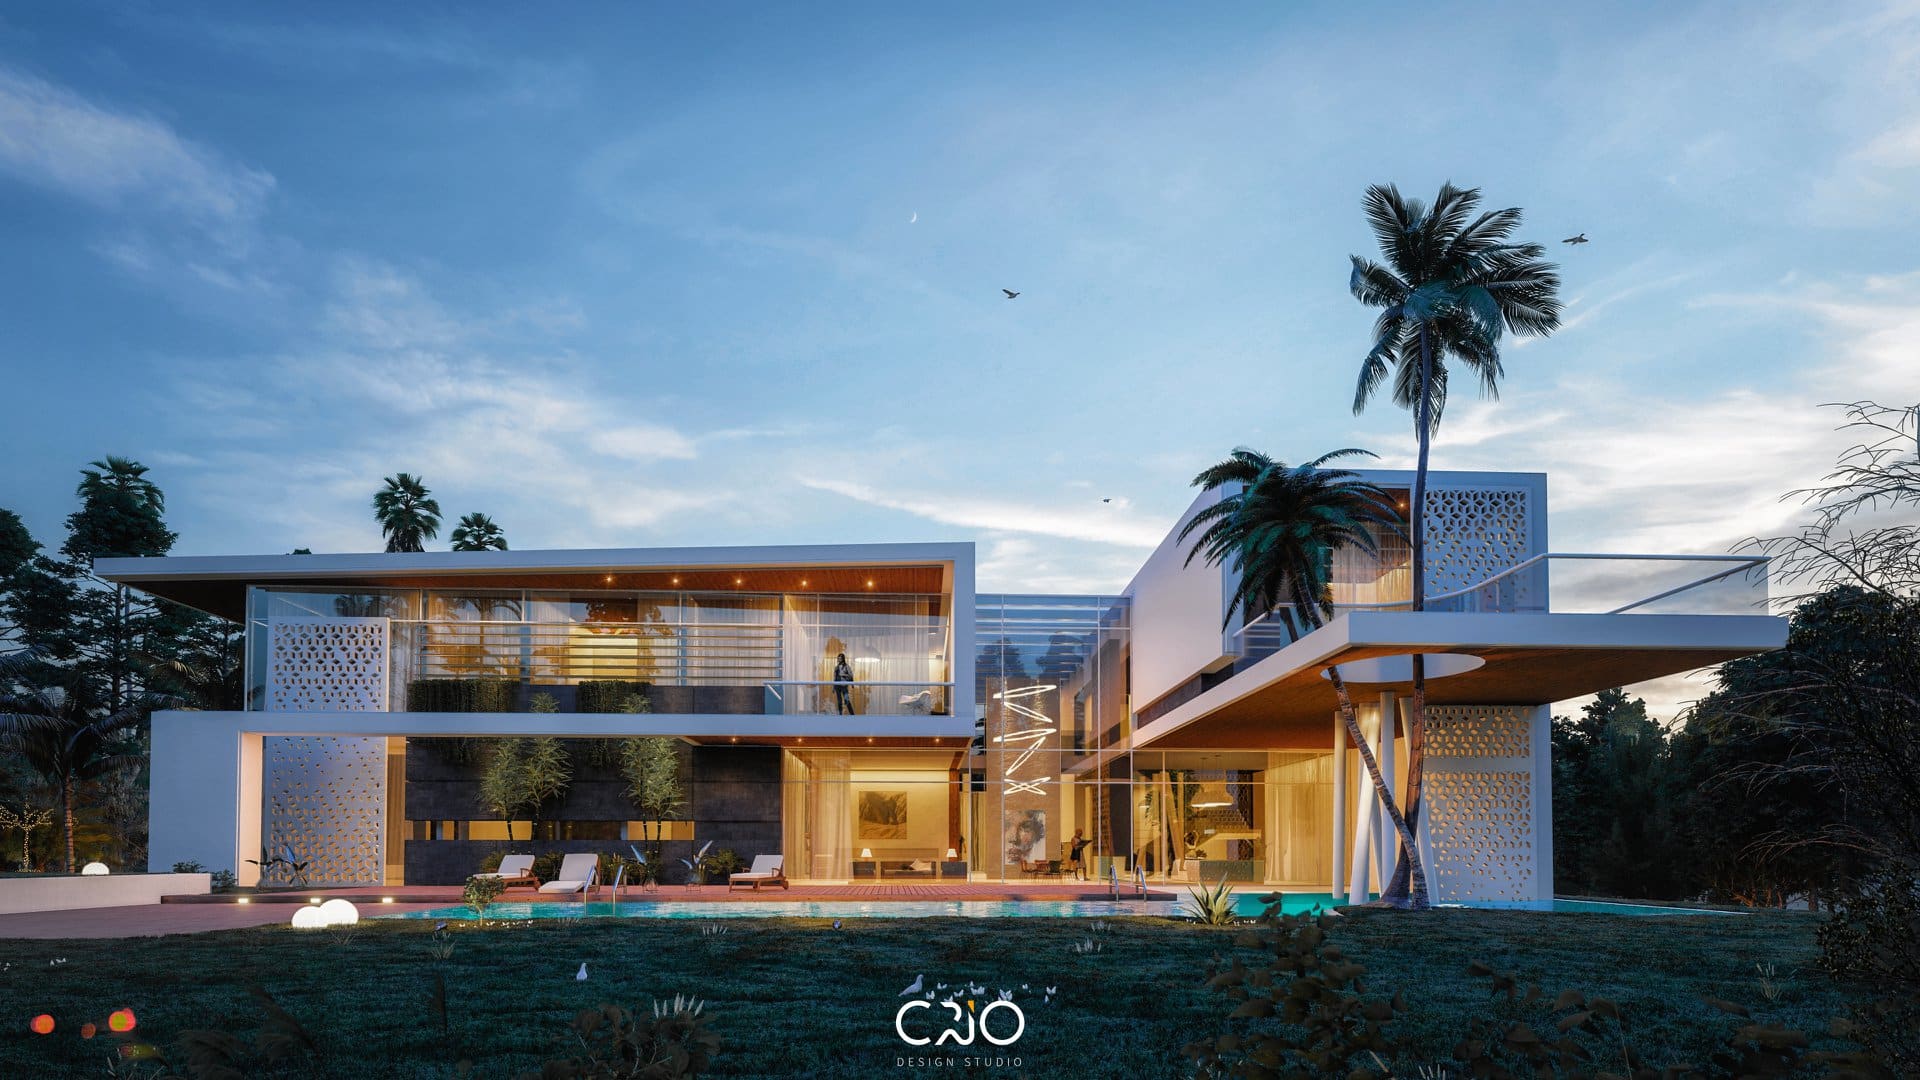
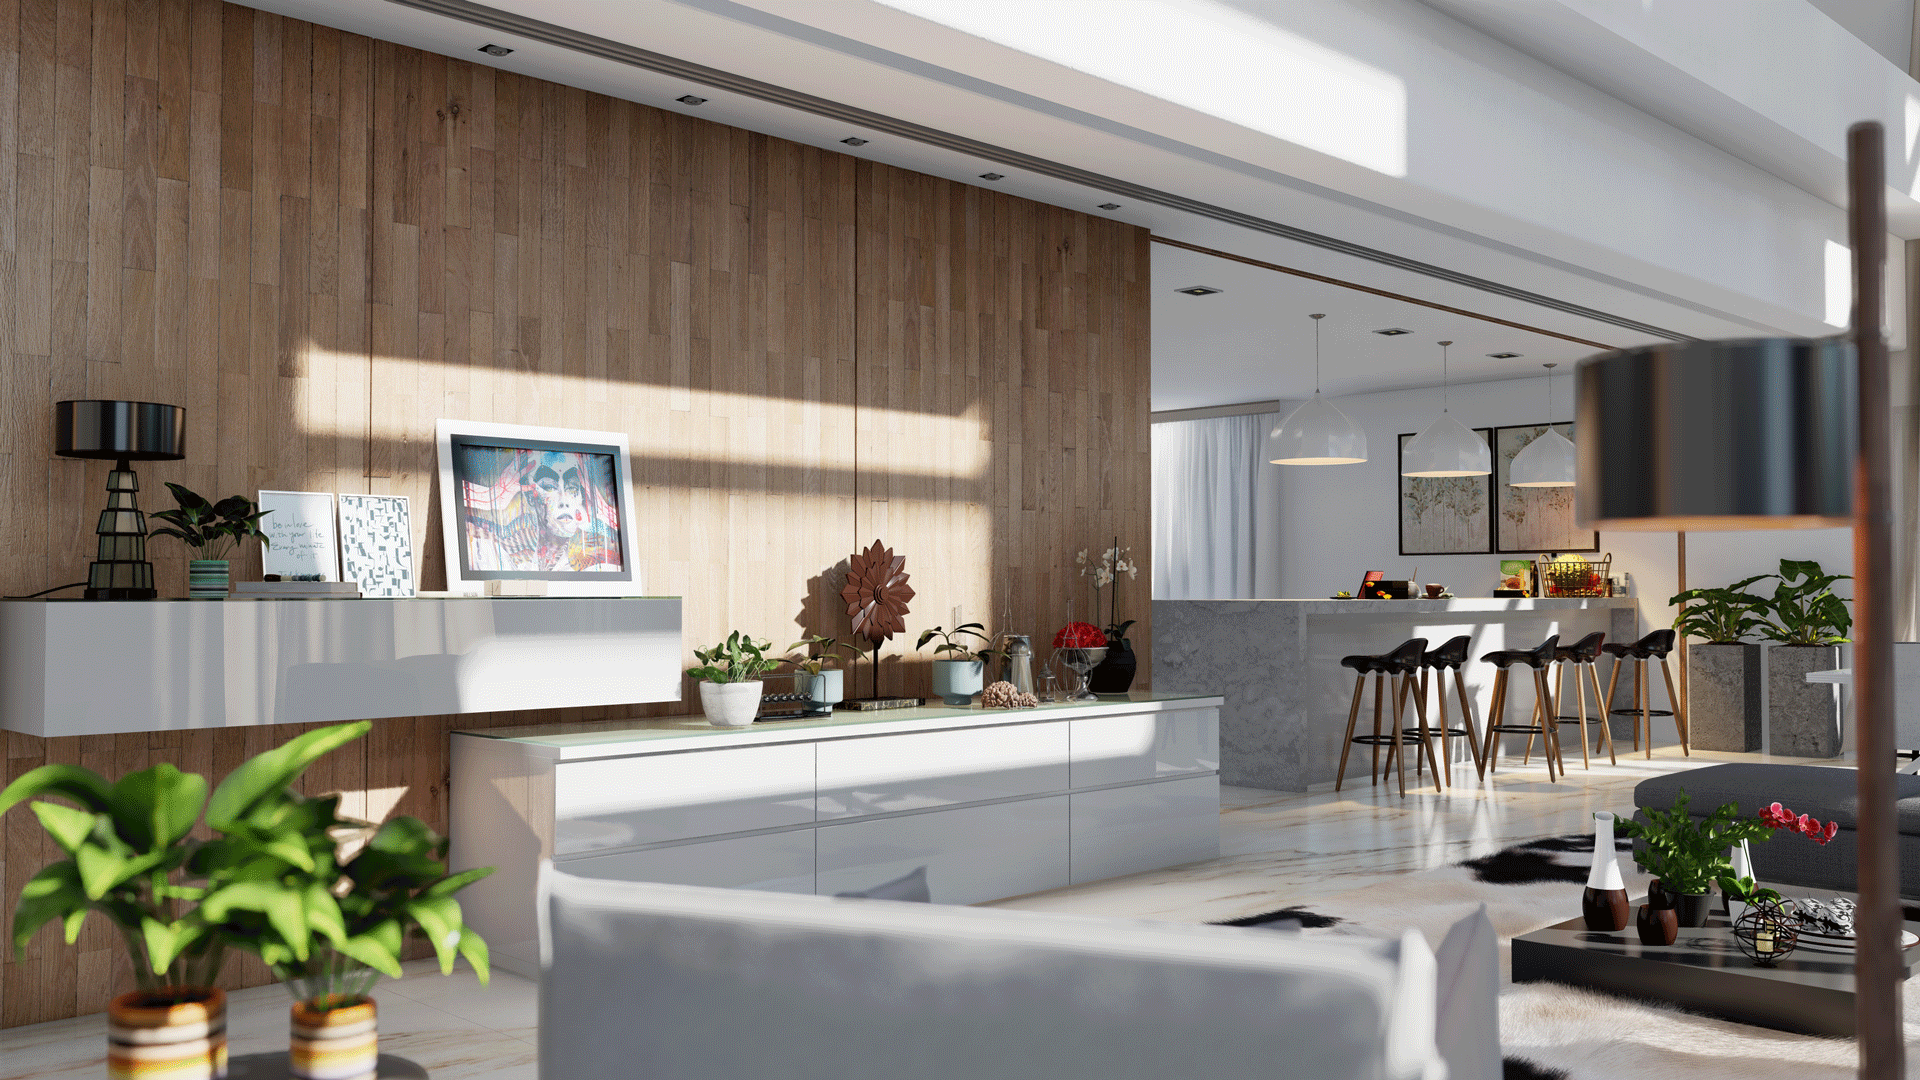
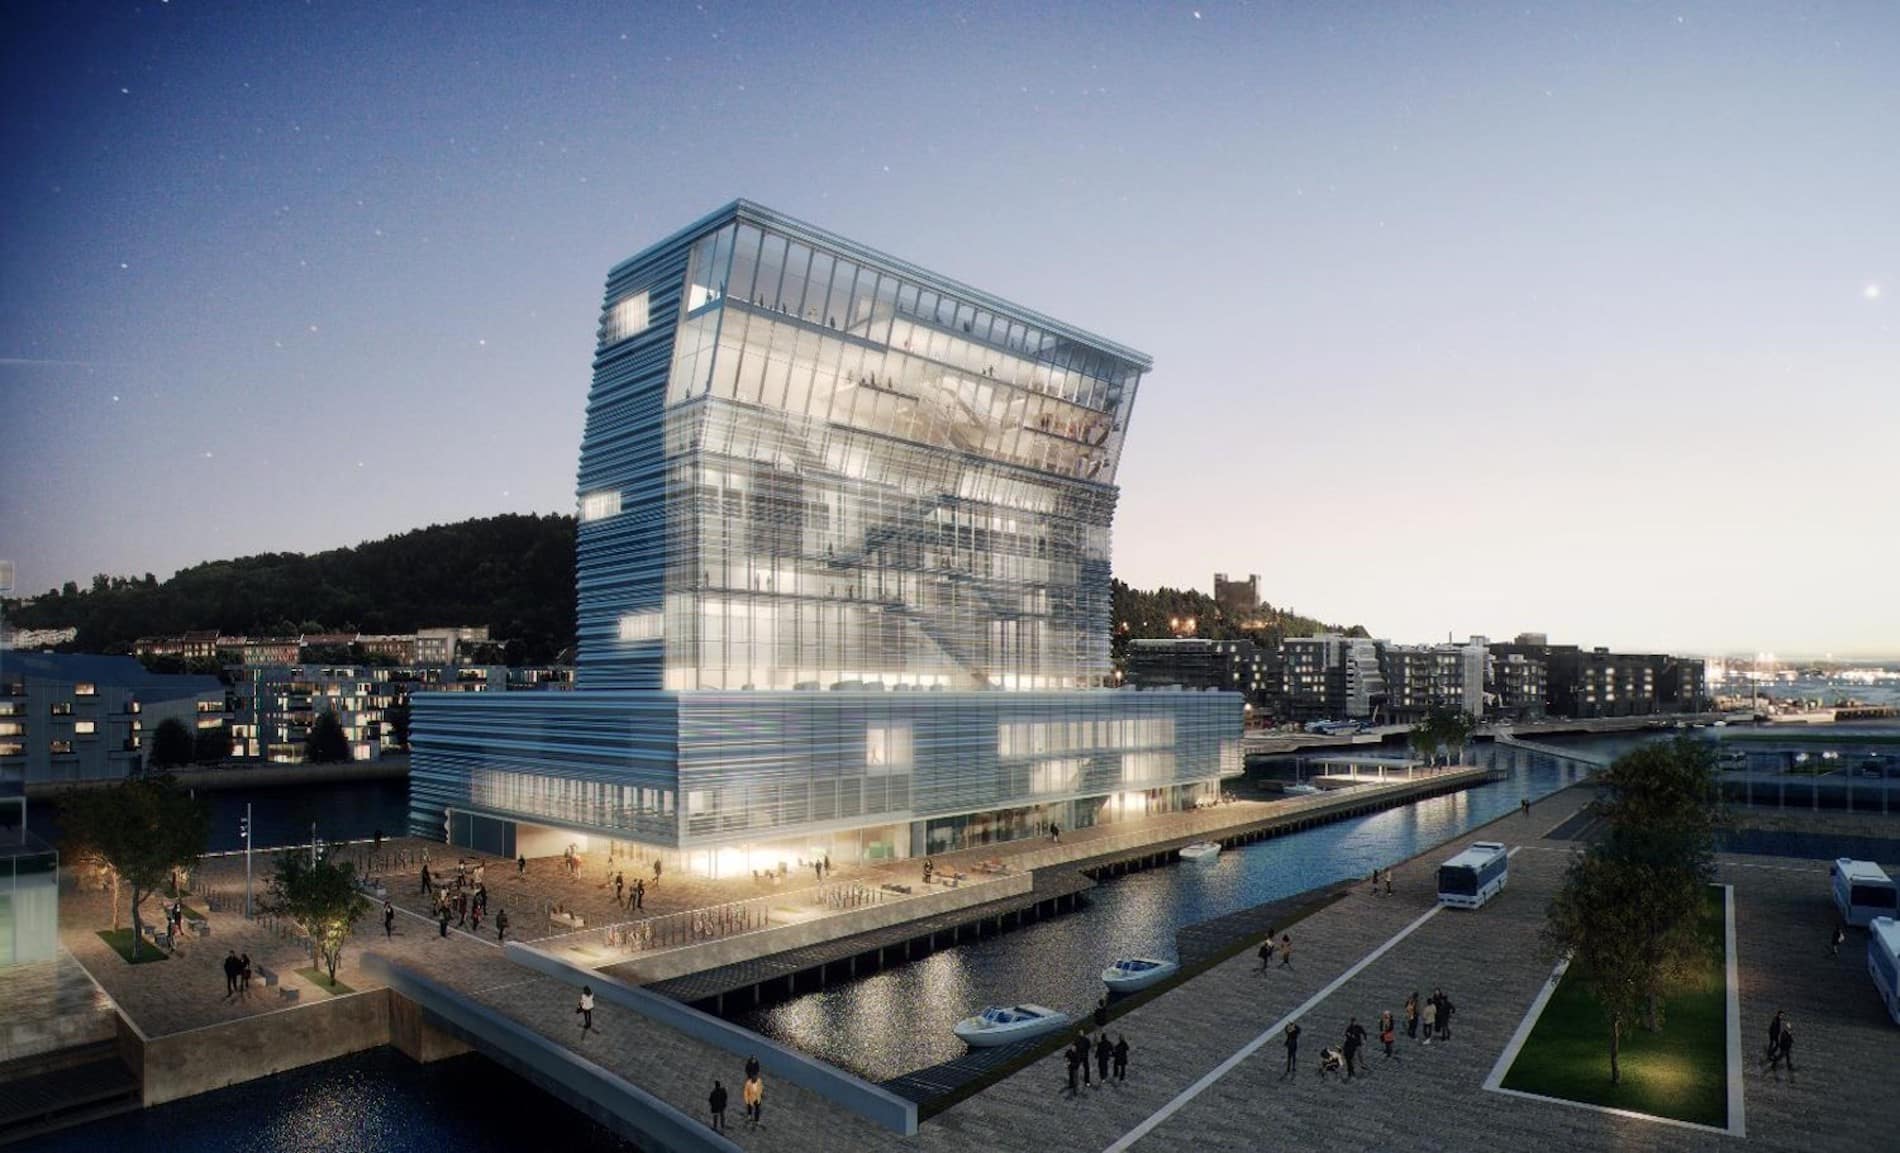
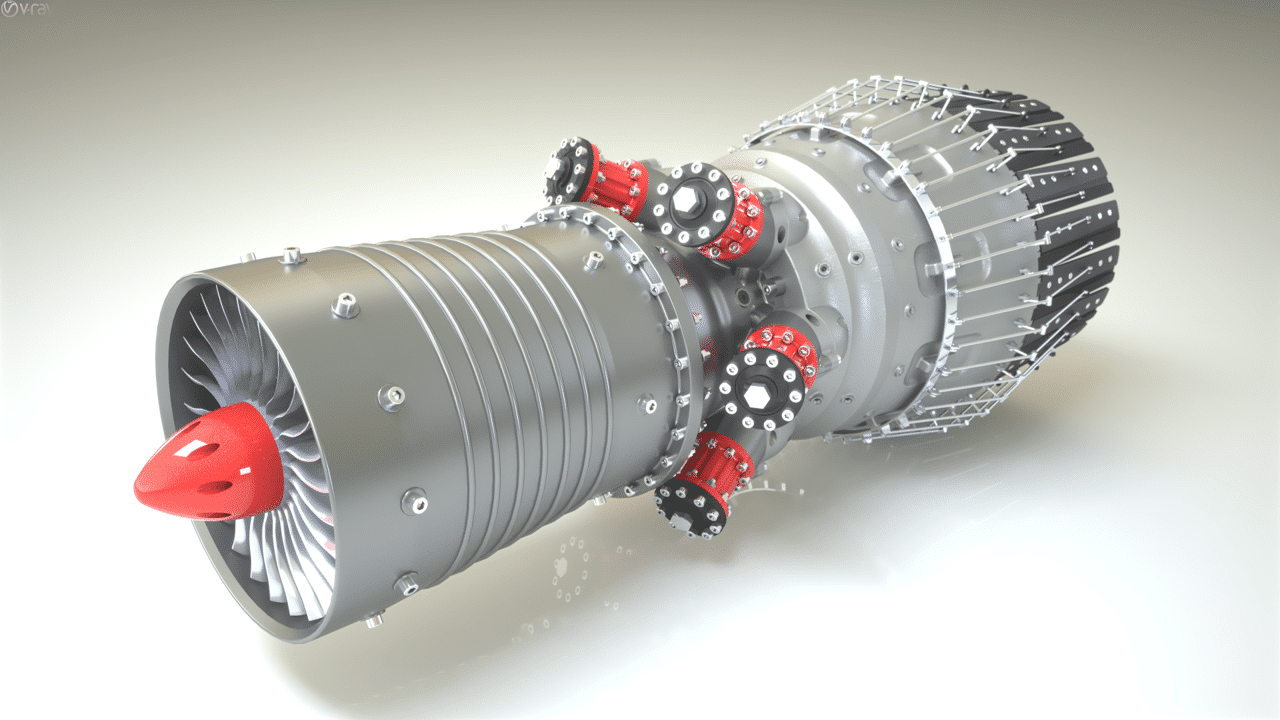
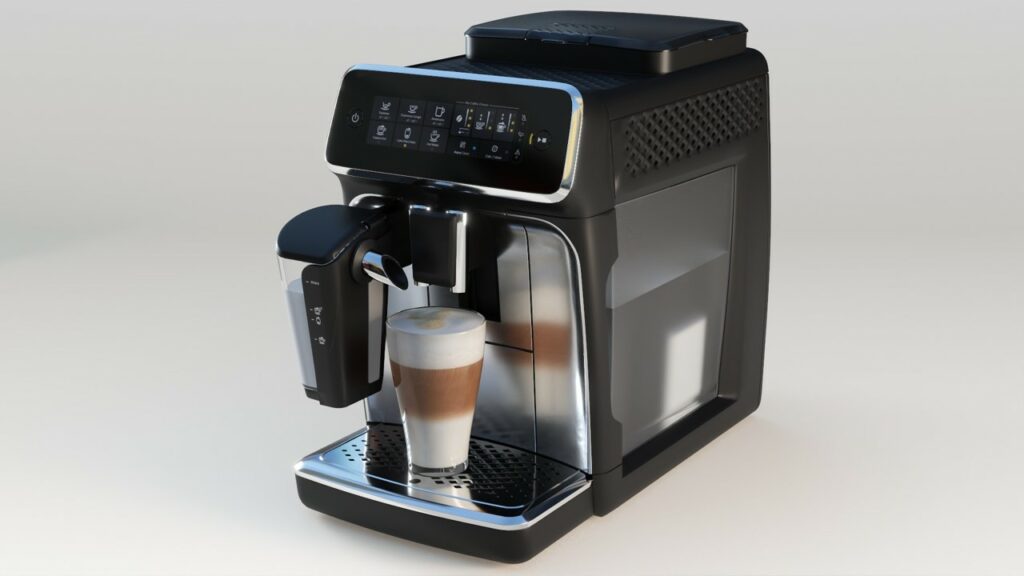
From there you can render from the viewport as a point and shoot type of work. Cameras can also be created for more control and repeatability. To prove my point, I have done more examples of studio photoshoot style render’s. We can clearly see that this type of rendering is very suitable for manufacturing and industrial products and won’t break the bank.
The learning curve of achieving your first renders with 3DS Max is not steep at all!
Basic software file management, navigation and manipulation are the same as any other software and those knowledges are transposed with no effort. Learning how to set the environment dialogue box, how to use the material editor and how to adjust cameras will require a little work, but not much.
Ask your Sale’s representative at SolidCAD about our new 2 days training; 3DS Max – Photo Studio Rendering.
Bring your 3D design to life with 3DS Max.