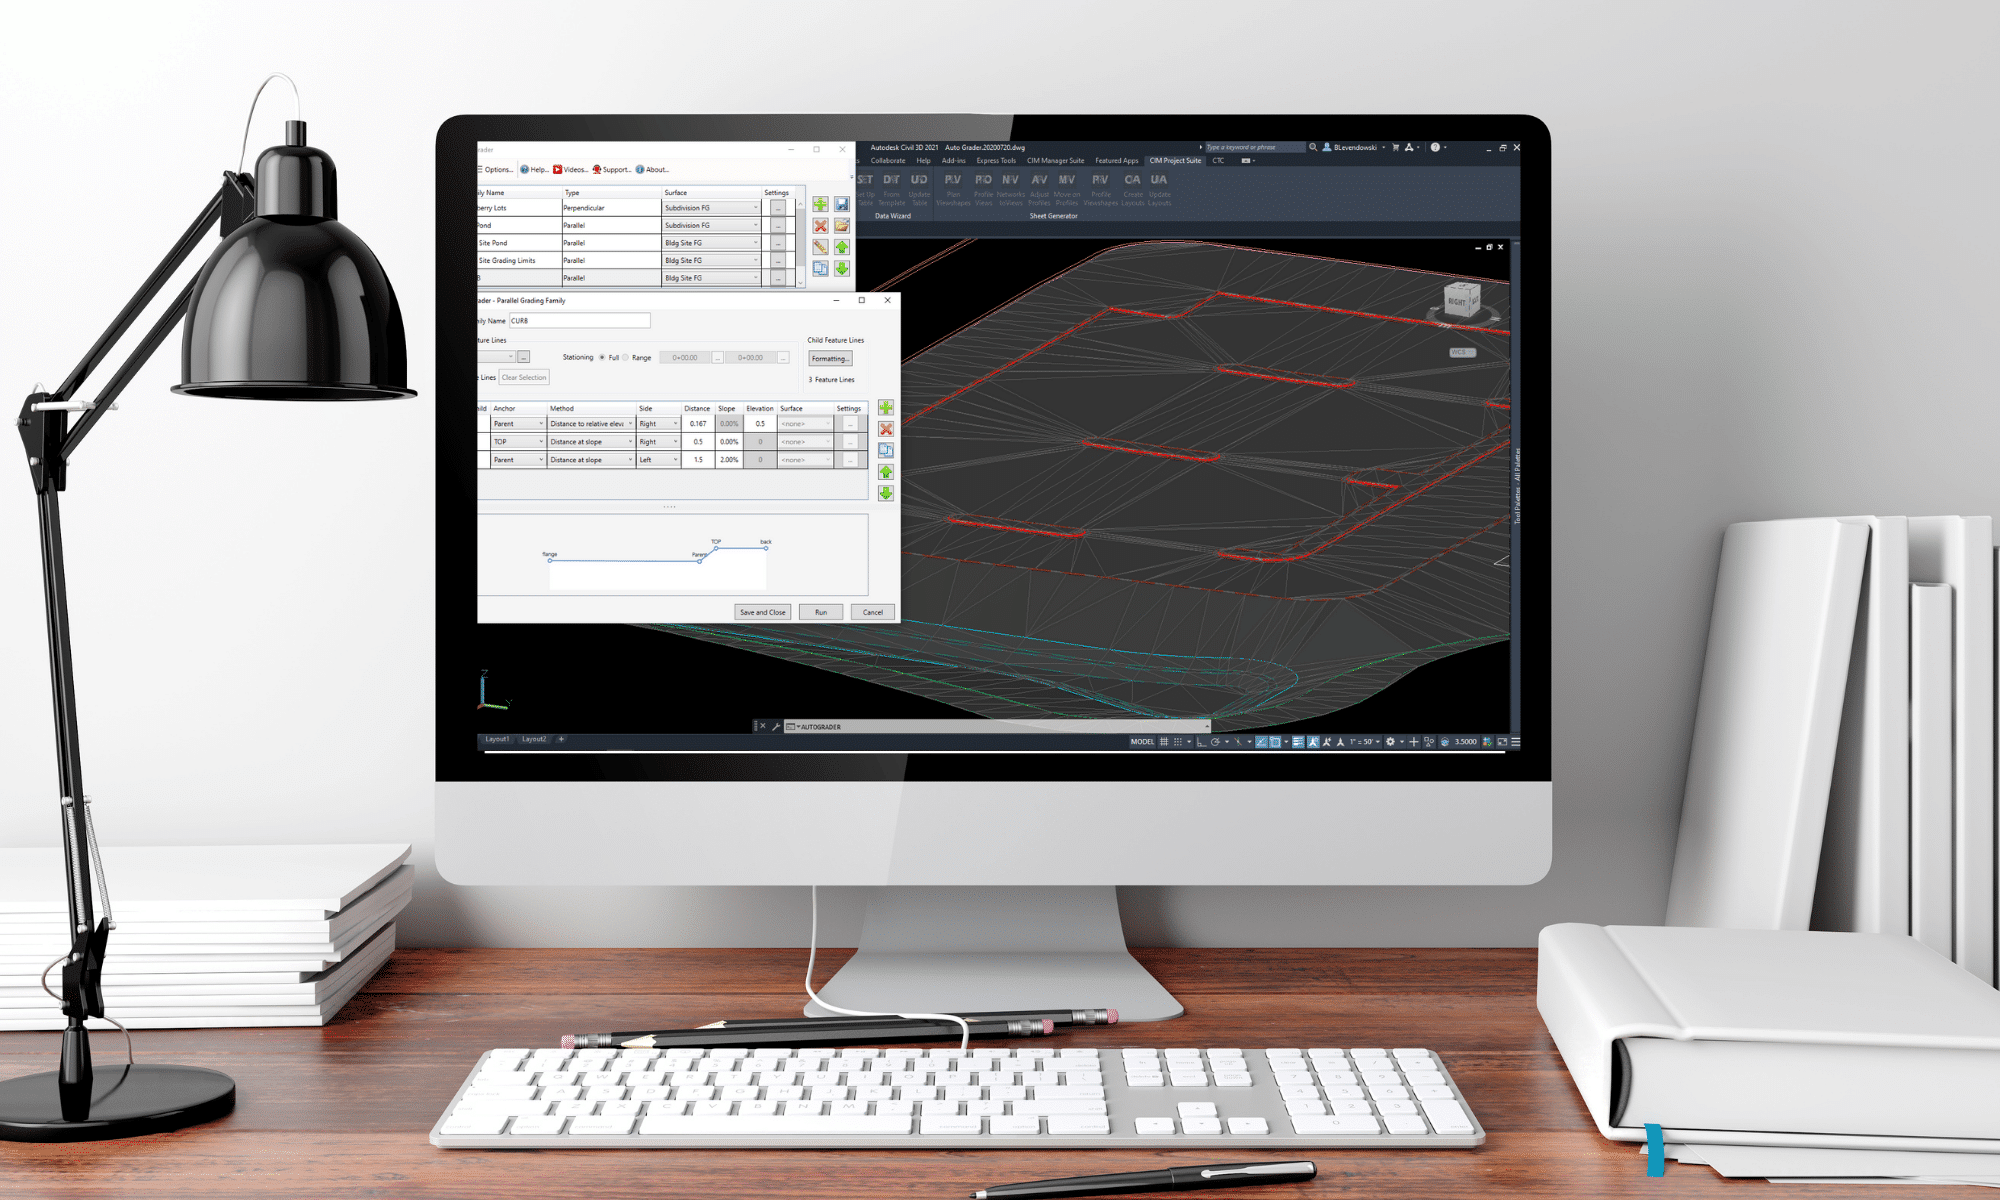
Today’s blog post will be focused on revealing the industry’s best practices for Civil 3D – Pipe Networks.
Explore the techniques to build Civil 3D gravity pipe networks and edit them using the new CTC Pipe Designer, Part Tagger, and Part Swapper all from CTC’s CIM Suite.
CIM Suite will help you to:
Improve sheet production with automated labeling, dynamic plan and profile sheets, and automatic legends
Create better grading models with dynamic site grading, corridor target automation, corridor splitting, and merging
Work more efficiently with pipe networks using a dynamic pipe run designer, multiple part swapping, and manhole schedule automation
Effectively manage multiple survey code standards, improve survey database workflows, and automate data prep for construction staking
Subscribe to our YouTube Channel and Blog to stay up-to-date.
Posted from CTC BIM Project Suite White Paper Library – CTC Software
Result
When the workflow is developed and implemented, the entire building occupancy can be calculated in a minute, and the code validation table can be filled out. With one more step, that same table can be linked back into the Revit model for use on sheets. Any user, on any project, at any time can leverage this workflow to get updated numbers and update the tables on the sheets. Revit data-entry frustrations and quality control issues are gone, since you can leverage the power of computers to do what computers were designed for by automating the repetitive tasks that creative human minds are not great at completing.
Savings/Benefits Users do not need to know the formulas that are running automatically. They do not need to depend on Dynamo scripts that can be volatile after updates. They can simply walk through a simple workflow that is stable and repeatable. The manual, error prone process can be eliminated, allowing users to focus more on design and documentation more than focusing on basic calculations and manual data entry. Time savings can be found every time that print day approaches. Design time can be extended since this time-consuming manual process is now automated.
Conclusion
Spreadsheet Link and Schedule XL from the CTC BIM Project Suite can help automate calculations. This example of occupancy and plumbing code calculations can be automated nearly 100%. There are many other areas where this type of automation can save hours of time consistently throughout the design and documentation process. Whenever you or your team are pulling data from the Revit model, transferring to a spreadsheet environment, running some calculations then manually transferring data or graphics back into Revit, think about how this can be automated by the BIM Project Suite. Manual, repetitive tasks are not enjoyable, often error-prone and should be eliminated where possible. Let the tools generated for you by CTC Software augment your workflow to allow you and your team to be more creative for longer periods.
This week’s post is all about the best practices series that is focused on revealing the industry’s best practices for Civil 3D Grading tools. It has been designed for Civil 3D 2020 users. After watching the recording, you will be able to apply industry best practice techniques to the following Civil 3D features:
Feature line geometry and elevation editing
Feature Line from alignment and profile
Grading criteria and objects
Slope transitions
Sloped-bottom ponds
Grading from corridors
Parking lots
Subscribe to our YouTube Channel and Blog to stay up-to-date.
Posted from CTC BIM Project Suite White Paper Library – CTC Software
The Issue
Revit® has trouble with complex calculations and the ability to run cross-category math. This can be frustrating when design calculations need to be run. In the case of plumbing code calculations, we need to take the occupancy of a defined area (floor, smoke compartment, etc.) and use these totals to derive the number of different plumbing fixtures that are required by code to be designed into these areas. Many firms run these calculations manually, but this can be done far more efficiently. This white paper will describe how a re-usable workflow can generate occupancy, calculate plumbing fixture counts and generate graphics for use in Revit to present this information in a live model.
Typical Workflow
In manual workflows, some Architectural firms will use either fake calculated values in a Revit schedule, then sometimes copy those values across to a real parameter for display in a tag, a schedule, and on the actual room object. Some firms may also use a calculated value in a tag to reduce some of the manual data transfer. Other firms will export schedules to Excel®, and run calculations there, but then must manually copy the values back into Revit. In all cases, the process is very manual and extremely error prone.
This is also rather time consuming, reducing potential production time. Regardless of how we get the room occupancy, we always must manually transfer the occupancy to a spreadsheet for our code checks, present the information in a meaningful way and return this information back to Revit. This is also entirely manual and error prone. Nothing keeps this information up to date with the Revit project model. There needs to be a better, more efficient way to do these types of calculations, and return the result of our efforts to the Revit project model and include the information on the construction document set.
Solution
This entire workflow can be heavily automated using the Spreadsheet Link and Schedule XL tools from the CTC BIM Project Suite. Your current spreadsheet can be incorporated, and the values entered far more automatically. Even the room occupancy calculations can be tuned to your liking, entered directly into the room/area/space elements you are using in the Revit model. Further, the spreadsheet graphics can be directly linked into the model, avoiding any manual image or CAD file workflows.
Establish predictable, repeatable workflows for all Revit users
Leverage existing spreadsheet layouts so formatting in Revit aligns with company graphic standards
Implement the power of spreadsheet formulas to drive calculations and graphics
Import spreadsheet graphics directly into the Revit model for use on sheets
Posted CTC BIM Project Suite White Paper Library – CTC Software
End Result
When the workflow is developed and implemented, the entire special program can be added to the Revit project in a matter of minutes. Design area versus actual modeled area can be compared and analyzed ondemand. Content for each space can be placed per room specifications, whether the families are loaded or not. If layouts change, or if equipment needs to be replaced, the process ca be completed in minutes instead of hours. Any user can utilize this workflow to import the program requirements into their projects, update the models, import the content and finish the design. This process speeds up a task that takes lots of time and removes lots of potential user error.
Savings/Benefits
Time savings can be applied to several different aspects of the project. Planners can continue to use Excel to generate the lists needed for the room import, pulling from defined lists of data instead of guessing or looking up the data themselves. They never have to open Revit if they do not want to. The manual, error prone process of reading data from one source, and entering it into another source can be eliminated. This allows the designers and Revit users to focus more on the actual design and layout of the project more than focusing on the data they have been retyping.
Conclusion Spreadsheet Link and Room Family Manager from the CTC BIM Project Suite can help import the building program and assist with data comparison and with design changes. The process above is intended to be the starting point of a template that can be expanded upon to include additional information, making the process fit the needs of the project and the team. If taken a few steps further, most of the data and content needed can be managed with just a couple of Excel files. Both Revit users and non-Revit users can take part in this process, and still have their designs imprinted on the project.
Posted from CTC BIM Project Suite White Paper Library – CTC Software
Issue
When working on medium to large buildings, how are you managing your program requirements? How are you checking the intended design area? In what way do you capture the number of required elements in a specific space? How can you assist the designer with room layouts and making sure the required equipment is used in the correct space? What happens when the design or the requirements change? Is there a way to compare data and assist with these changes? This session will demonstrate a process that will answer these questions, using tools you may already have at your fingertips: Spreadsheet Link and Room Family Manager. These tools can be powerful assets when establishing building programs.
Typical Workflow In manual workflows, many architectural firms will use an Excel® spreadsheet containing all the special requirements needed for the building. Occasionally, some firms will have a process to export the data from Revit® and linked directly into this spreadsheet. Most firms will export the room data from their Revit design models, and manually enter the data in their spreadsheets. But what happens on the return side? How this data gets back into Revit almost always is another manual process. There are a handful of Issue When working on medium to large buildings, how are you managing your program requirements? How are you checking the intended design area? In what way do you capture the number of required elements in a specific space? How can you assist the designer with room layouts and making sure the required equipment is used in the correct space? What happens when the design or the requirements change? Is there a way to compare data and assist with these changes? This session will demonstrate a process that will answer these questions, using tools you may already have at your fingertips: Spreadsheet Link and Room Family Manager. These tools can be powerful assets when establishing building programs. Dynamo workflows and paid Revit plugins that are meant for this process specifically, but they either take dedicated professionals to create and maintain, or they cost a lot of money to purchase. Unfortunately, these tools are not commonly used. Then what about the content required to be placed in each space? Often, a designer is reading from the spreadsheet, browsing through their Revit library and manually placing the content into their projects. If the design changes, or the requirements change, it all becomes a manual process, updating both the spreadsheets in Excel, and updating the models in Revit.
Solution This entire workflow can be simplified by using a couple of tools that many firms already have: Spreadsheet Link and Room Family Manager, both from the CTC BIM Project Suite. A template can be created for the type of project and spaces that are being used, to assist with populating special data obtained in the building program. This data can be pushed into the Revit models, and a back-and-forth design process can begin. For the content to be placed within the rooms, Room Family Manager will help with defining the list of equipment required by each space, and help with populating each space with the defined list, and again another back-and-forth design process can begin.
Are you a Revit MEP user and frequently download Revit content from manufacturers or sources like BIM Object? Once that content is loaded into the project, is there a struggle to get the family properly to work with your schedules? Well than the CTC Parameter Jammer tool is the one to help solve these problems.
Downloading Revit family content regularly brings along shared parameters to your project that are different from your company’s standards. This will give inconsistent information within the schedules. Use Parameter Jammer to deal with those problems.
Here is a schedule with a family loaded into a project but does not have information populated because of the inconsistent parameters from the family to the project.
Run Parameter Jammer
With a simple user interface, there a couple steps needed to map the loaded family’s parameters to match the project.
Select your companies shared parameter file
Select the schedule that the family will be residing in
Select the family/families that the parameters need to be modified
In the next window, you will get a list of all the Shared Parameters from the selected schedule along with the family parameters. From the family parameter list, you will apply what needs to be done to the family. Parameter Jammer will also find same named parameters and automatically map them. When you select the drop-down list, you specify a family parameter to match the ones in your schedule. It will only show parameters that have the same units. You can also create a new instance or type parameter for the loaded family.
A final report will be displayed to show what has been done.
As you can see, downloadable content being used in a project does not need to have much modification for it to work properly in your current projects. Parameter Jammer gives you the ability to quickly grab information from the new loaded families and map those parameters to meet your company standards. Your schedules will be up to date and have no missing information in a matter of a few clicks using Parameter Jammer.
Plan production tools in Civil 3D are great for creating plan and profile sheets, but what about when the inevitable design changes come and you need to update your sheets? You either update them manually or recreate all new sheets. With CTC Software’s Sheet Generator, you can create plan and profile sheets that update after designs change, including refreshing of viewports, north arrows, matchlines, sheet names and numbers, sheet set data, and more. Sheet Generator provides better control on Profile Views, more flexible sheet management workflows, and easily dovetails with your company standards.
While Pipe Networks are a great toolset in Civil 3D, they fall short as a true design tool. With CTC Software, we can edit pipe runs through a design-oriented, dynamic interface. We can swap multiple parts, both pipes and structures, in plan or profile. We can also auto-populate properties across multiple parts at once, aiding in proper labeling or tabling.
Down below are BIM Project’s Suites best FREE tools:
(1) Quick Select
Gives users the ability to build or filter selections of Revit objects by specific categories or parameter values. For more click here
Revit Filter Tool
vs Quick Select Tool
(2) Renumbering
Provides a fast and simple way to renumber your rooms and doors. Auto-swapping avoids duplicates. Alphanumeric sequential numbering. Add separators and suffices to room and door numbers. For more click here